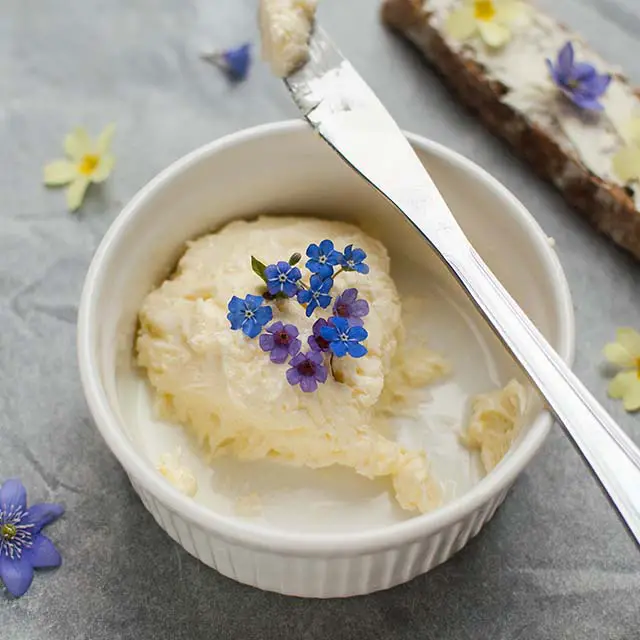
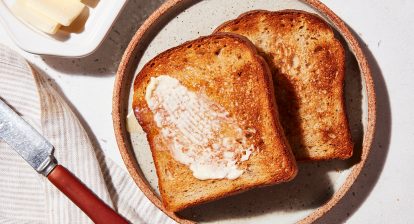
Sometimes the simplest things are the best and warmest. You know, a cup of tea after a long day, an umbrella from a stranger on a stormy day, the sunrise on the way to work, the hum of bees on a blossoming apple tree. And fresh homemade butter on freshly baked sourdough bread. I eat a lot of butter and the idea of having it fresh whenever I need it is really inspiring to me. So I made it at home.

Table of Contents
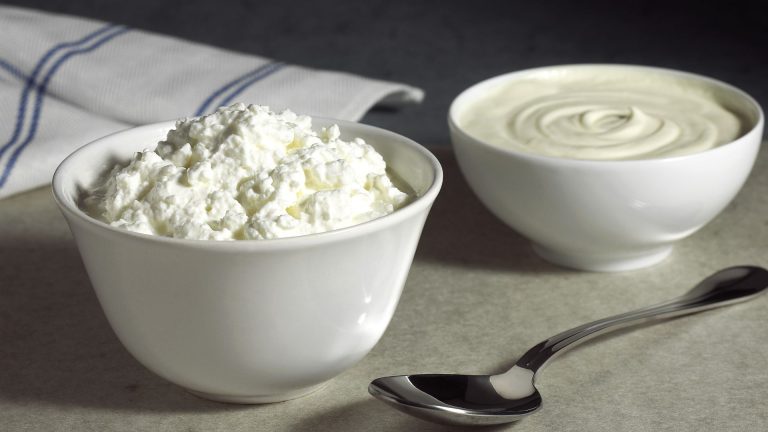
- 180 ml whipping cream at room temperature
- 1 jar with lid
- 1 marble (optional)
- A few hours before preparing the butter, remove the whipped cream from the refrigerator. The warmer the cream, the softer the butter will be at the end.
- Prepare a jar and pour the cream to fill 3/4. Throw in the marble, cover the jar tightly with a lid and start shaking vigorously (great for the arms, though, make sure your forearms are relaxed or they'll be sore for a day or two). If you find it difficult to mix, you can use an electric mixer or beater. It might be interesting for you to see the different stages of butter formation, so just peak twice.
- Shake for a minute until you see whipped cream forming.
- Shake again for a minute or two until you first see the whipped cream become stiff in texture (like curds) and then break down into buttermilk curds.
- Shake again and soon you will see these clumps of butter coalesce into butter.
- Pour in the buttermilk and whisk the butter again to make sure there is as little liquid as possible. If you are not going to use it immediately, it is advisable to wash the finished butter with cold water and cook or squeeze it to ensure that there is no liquid left that would spoil the butter. Scoop out the finished butter and store in a container or wrap in parchment paper and store in the refrigerator for a few days or in the freezer for a few months. Or use it immediately (the chances of resistance are very small, believe me). From 180 g of whipped cream, I took 100 g of butter and 80 g of buttermilk. The whipping time may take longer than 4-5 minutes, depending on the whipping cream.
endnoteS
- Choose your quantity and adjust the jar size accordingly. Always fill the jar 3/4 full so you can shake the cream.
- Preparation time: 2 hours
- Cooking time: 15 min
- Category: spread, side plate
- Kitchen: European, American
It's that simple: Shake it (whipped cream), until you make it (homemade butter). The process of shaking the cream is called shaking.
How is butter formed from whipped cream?
Let's start with milk. Milk is a stable emulsion (mixture of two immiscible liquids) of small fat globules (5-10%) floating in a water-based liquid containing soluble minerals and vitamins. Whipping cream is similar to milk except that it has a higher percentage of butterfat globules (15-35%).
Clumps of butterfat are like fat droplets covered in a membrane. When we start to shake the whipping cream, the wrinkles collide and the fat bursts from the membrane – ie the fat is released. The released fat finds other released fats and thus eventually separate butter and buttermilk are formed.
Homemade butter recipe
Ingredients for homemade butter
It serves: 1 hungry and gluttonous person
- 180 ml whipping cream at room temperature*
- 1 jar with a lid
- 1 marble (optional)
*Choose your quantity and adjust jar size accordingly. Always fill the jar 3/4 full so you can shake the cream.
Short instructions for making homemade butter
Shake it (whipped cream), till you make it (homemade butter, that is)!
Long instructions for making homemade butter
- A couple of hours before preparing the homemade butter, take the cream out of the refrigerator. The warmer the cream, the softer the butter will be at the end.
- Prepare a jar and pour the cream to fill 3/4. Throw in the marble, cover the jar tightly with a lid and start shaking vigorously (great for the arms, though, make sure your forearms are relaxed or they'll be sore for a day or two). If you find it difficult to mix, you can use an electric mixer or beater.
- It might be interesting for you to see the different stages of butter formation, so just peak twice.
- Shake for a minute until you see whipped cream form.

- Shake again for a minute or two until you first see the whipped cream become stiff in texture (like curds) and then break down into buttermilk curds.
- Shake again and soon you will see these clumps of butter coalesce into butter.
- Pour in the buttermilk and whisk the butter again to make sure there is as little liquid as possible. If you are not going to use it immediately, it is advisable to wash the finished butter with cold water and cook or squeeze it to ensure that there is no liquid left that would spoil the butter.
- Scoop out the finished butter and store in a container or wrap in parchment paper and store in the refrigerator for a few days or in the freezer for a few months. Or use it immediately (the chances of resistance are very small, believe me).
From 180 g of whipped cream, I took 100 g of homemade butter and 80 g of buttermilk.
The shaking time may take more than 4-5 minutes, depending on the cream used.
Try this easy homemade butter today!

So now you have buttermilk and butter. You can drink buttermilk or add it to bread or pancakes, and you can add some delicious finishing touches to the butter, like adding salt, honey, fresh herbs, spices, or anything else you like.
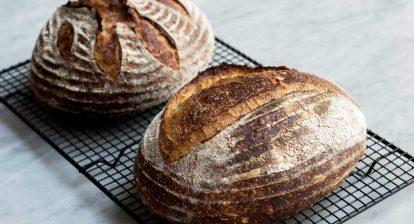
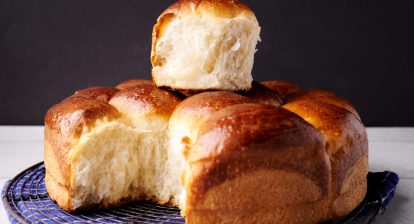
Use this delicious homemade butter on your freshly baked bread. It will work in sourdough recipes, such as:
Making your own butter is so rewarding!
If you're looking for a vegan alternative, check out this recipe vegan buttermilk that might work for you.
Have you ever made homemade butter?
Making Homemade Butter – FAQ
How do you make butter at home?
Making butter at home is easier than you might think. In my recipe I used whipping cream, but you can also use heavy cream. This will give an unsalted butter result, so add some salt if you want salted butter. Shake the cream, or beat the cream with a hand or stand mixer for an easier time. Separate the solids (butter) from the liquids (buttermilk) and voila!
Is it cheaper to make your own butter?
it it may or may not be cheaper to make homemade butter, depending on the cost of heavy cream in your area. In general, heavy cream is more expensive than butter, so it's important to consider the cost of ingredients before deciding whether to make your own butter. But while making butter may not always be the cheapest option, it can still be a worthwhile and satisfying endeavor.
How long does homemade butter last?
Homemade butter can last up to a few weeks in the refrigerator if stored properly in an airtight container. However, the actual shelf life of homemade butter can vary depending on factors such as how well it has been rinsed to remove all residue. buttermilkhow it is made and how it is stored.
To maximize the shelf life of your homemade butter, it's important to store your homemade butter in an airtight container in the coldest part of your refrigerator. You can also wrap the butter in wax paper or parchment paper to help keep it fresh. It's also a good idea to label the container with the date the butter was made so you can keep track of how long it's been in the fridge.
How can I make homemade butter creamier?
The secret to creamy butter is a few things: good heavy cream, adding a pinch of salt, softening the butter, adding cold water, whipping the butter, and letting the butter rest. Don't be afraid to make butter at home!

